Low back pain is one of the most common ailments affecting people worldwide, regardless of age or lifestyle. It can hinder mobility, decrease productivity, and significantly impact one’s quality of life. While there are numerous treatments and approaches to alleviate back pain, incorporating yoga practices can be particularly beneficial. Among the various tools used in yoga, the yoga wheel stands out as a versatile and effective aid for relieving tension and promoting flexibility.
Understanding the Yoga Wheel
The yoga wheel, a circular tool designed to assist and deepen stretches, is made of durable material and can support a significant amount of weight. It typically has a diameter of about 12 to 15 inches and is about 5 to 8 inches wide. When used correctly, the yoga wheel can help improve balance, flexibility, and strength, making it an excellent addition to any yoga practice, particularly for those experiencing back pain.
Benefits of Using a Yoga Wheel for Back Pain
Spinal Alignment:
The yoga wheel can help restore natural curvature to the spine, promoting proper alignment and reducing discomfort.
Deep Stretching:
It enables deeper stretches in various poses, particularly in the chest, shoulders, and back, which helps alleviate tension and tightness.
Improved Flexibility:
Regular use of the yoga wheel can enhance mobility and flexibility in the spinal region and surrounding muscles.
Muscle Release:
The wheel aids in self-myofascial release, targeting knots and trigger points in the back muscles that contribute to pain.
Core Strengthening:
Many exercises performed with the yoga wheel engage the core, strengthening the muscles that support the spine, thus reducing the risk of injury.
Getting Started: Choosing the Right Yoga Wheel
When selecting a yoga wheel, consider the following factors:
Material:
Look for wheels made from high-quality, sturdy materials that can withstand pressure. Some wheels come with padding for added comfort.
Size:
Ensure the wheel’s diameter suits your height and skill level. A larger wheel can provide more support, while a smaller one may allow for deeper stretches.
Weight Limit:
Always check the manufacturer’s weight limit to ensure it can safely accommodate your body weight.
Safety Precautions
Before utilizing the yoga wheel for back pain, keep the following safety precautions in mind:
Consult a Professional:
If you’re suffering from significant or chronic back pain, consult a healthcare provider or a physical therapist to rule out any serious conditions.
Listen to Your Body:
Pay attention to how your body feels during exercises. If something causes pain or discomfort, stop immediately.
Use a Mat:
Perform exercises on a yoga mat to prevent slipping, providing extra cushioning for your joints.
Warm-Up:
Always start with a gentle warm-up to prepare your muscles and joints for movement.
Practice Slowly:
Begin with basic movements and gradually work your way up to more advanced techniques.
Yoga Poses to Ease Low Back Pain using Yoga Wheel
Child’s Pose
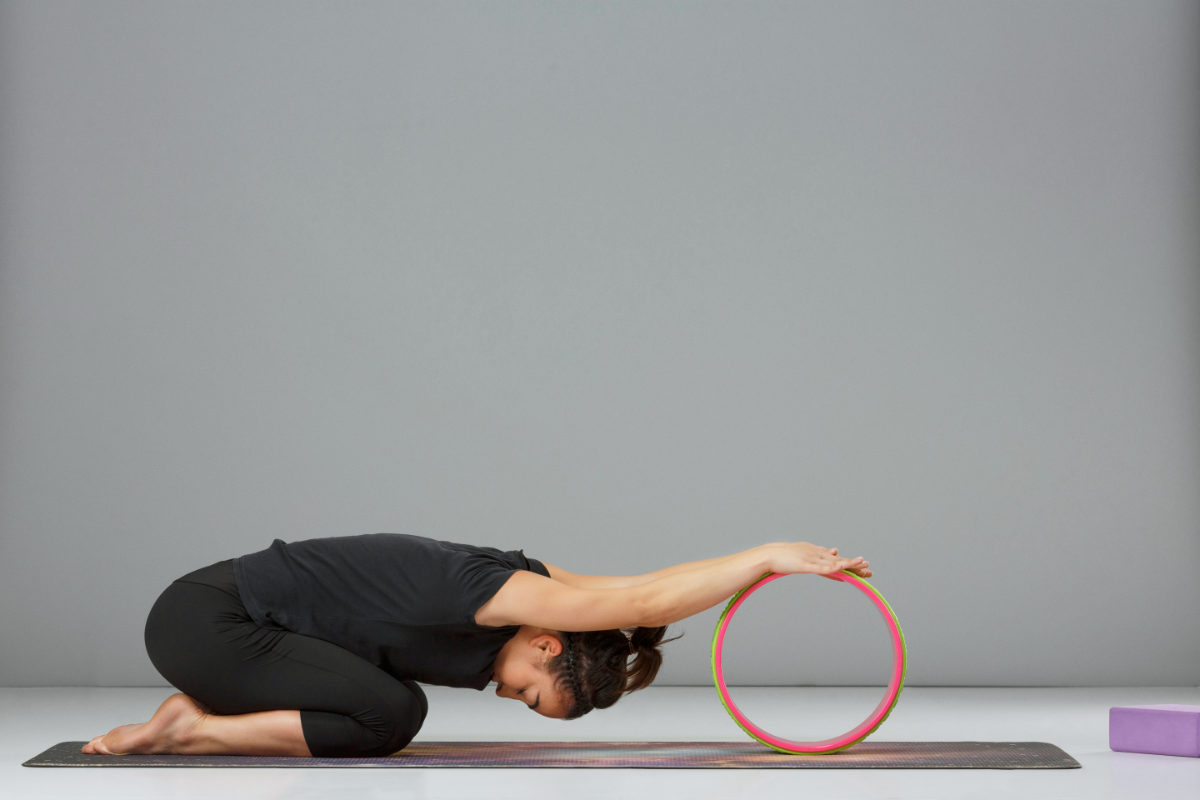
Instructions:
- Begin by placing the yoga wheel on the mat, ensuring it is stable and secure.
- Kneel on the mat with your knees hip-width apart. Sit back on your heels and then slowly lean forward, reaching your arms out in front of you, resting your palms on the wheel.
- Ensure your head, neck, and spine are aligned.
- Close your eyes and take slow, deep breaths, allowing your body to relax and sink into the pose. Hold the position for 1-3 minutes, or as long as feels comfortable, focusing on releasing tension in your lower back.
Fish Pose
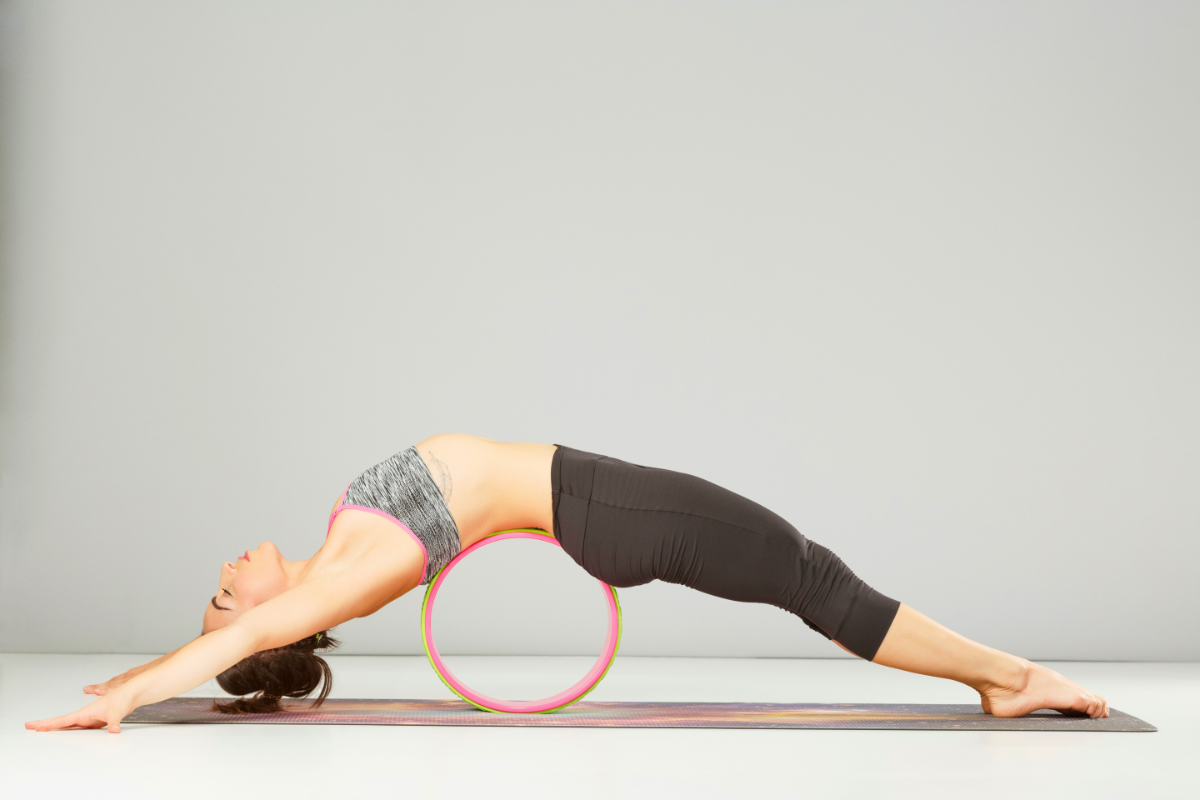
Instructions:
- Begin by placing the yoga wheel on your mat behind you, aligning it with the center of your back. Ensure that it is stable and secure.
- Sit on the mat with your legs extended in front of you. Slowly lean back and place the middle of your upper back against the yoga wheel. Adjust your position so that the yoga wheel is right under your low back and arms all the way above your head with palms facing down. You can bend your legs or keep your leg extended.
- For added variety and balance, you can lift one leg off the ground, keeping it extended and engaged.
- Close your eyes and take deep breaths, allowing your chest to open and your back to gently stretch over the wheel. Hold this position for 1-3 minutes, focusing on relaxation and releasing any tension in your lower back.
Supported Backbend (Beginner-Friendly)
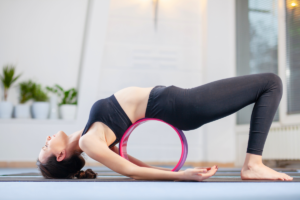
Instructions:
- Start by sitting on the floor with your legs extended in front of you and the yoga wheel behind you.
- Slowly lie back, placing the back of your torso on the wheel to support your spine.
- Adjust your position so the wheel is at the mid-back area, providing comfort and stability.
- Press your feet firmly into the ground, hip-width apart, and bend your knees slightly.
- Inhale deeply and engage your core as you lift your hips toward the ceiling.
- Let your upper back and shoulders open over the wheel.
- Keep hands on the floor for support or extend arms overhead for a deeper stretch
- Reach your arms overhead, straight and aligned with your ears, stretching through your fingertips.
- Hold the pose, focusing on your breath and maintaining balance.
- Maintain your breath, staying aware of your alignment and support from the wheel.
Upward-facing Supported High Plank
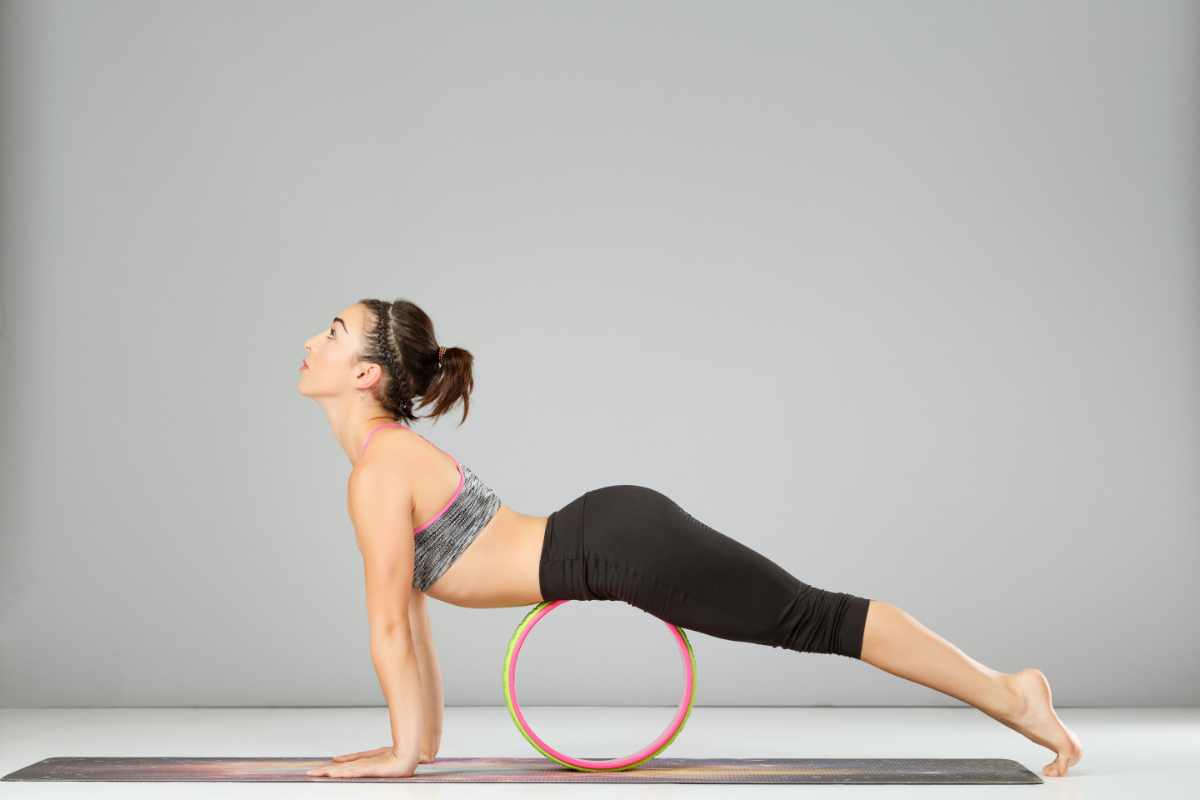
Instructions:
- Begin on a yoga mat or a comfortable surface.
- Place the yoga wheel under your abdomen, just below your ribcage.
- Start in a tabletop position on your hands and knees.
- Tuck your toes under and lift your knees off the ground.
- Extend your legs straight back so your body forms a straight line from head to heels.
- Keep your hands shoulder-width apart, pressing firmly into the ground.
- Tighten your abdominal muscles to stabilize your body and balance on the wheel.
- Lift your chest slightly upward while keeping your neck neutral to avoid straining. You can look slightly up also.
- Maintain steady, even breaths as you hold the position.
- Stay in this position for 20-60 seconds, focusing on your form.
- Slowly lower your knees to the ground to come out of the plank.
- Take a moment to relax and stretch out before repeating or moving on to another pose.
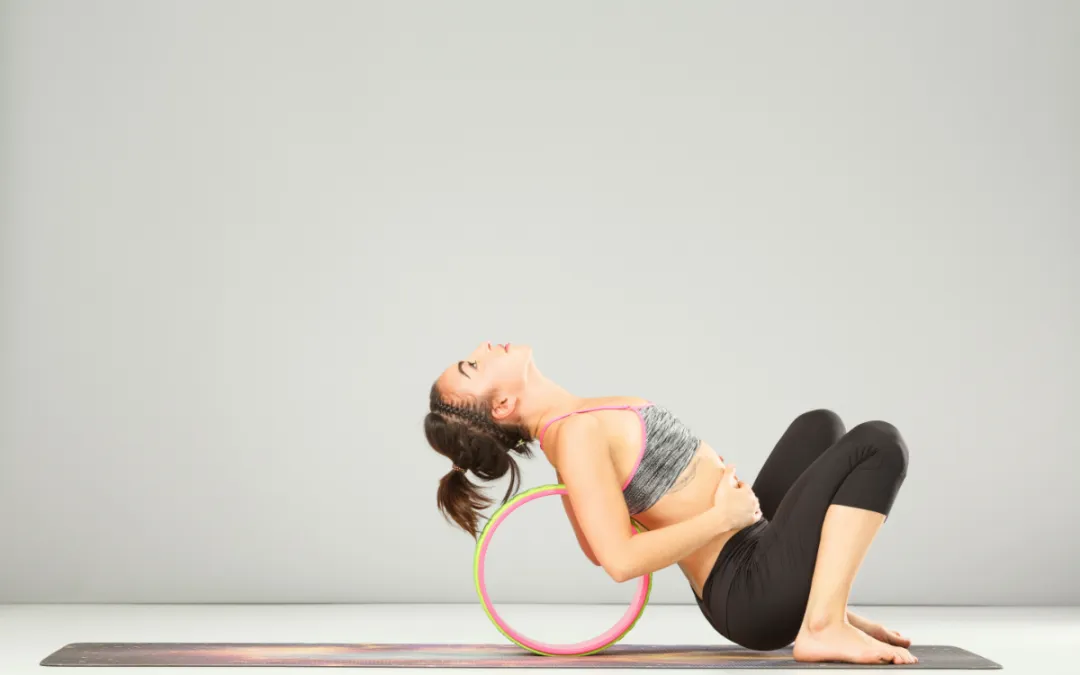
Seated Backbend
Instructions:
- Begin by sitting on a yoga mat with your legs extended in front of you.
- Place the yoga wheel behind your back, positioning it so that it is in the middle of your spine.
- Shift your hips slightly forward and sit down so that your sit bones are firmly grounded on the mat while your back is leaning against the wheel.
- Ensure that your lower back is supported by the wheel to maintain proper spinal alignment.
- Bend your knees slightly and bring your feet flat on the mat, hip-width apart. You can keep your feet grounded or extend them out in front of you for an added challenge.
- Rest your hands gently on your tummy, fingers pointing towards the ground.
- Relax your shoulders down away from your ears. Open up your chest and gently lift your chin towards the ceiling.
- Gaze upwards towards the ceiling, allowing your neck to elongate but ensuring there’s no strain.
- Take deep, calming breaths. Inhale through your nose, allowing your abdomen to rise, and exhale through your mouth, feeling your body relax deeper into the pose.
- Stay in this position for 5-10 breaths, focusing on maintaining relaxation and opening the heart.
- To come out of the pose, gently bring your chin to your chest, place your hands on the mat, and carefully lift your hips off the wheel. Sit back upright on your mat.
Tips and Precautions:
- If you experience discomfort or strain in your lower back, come out of the pose or adjust your position. It’s essential to practice mindfully.
- If you have chronic low back pain or other health concerns, it’s advisable to consult with a healthcare provider or a qualified yoga instructor for personalized guidance before practicing this pose.
Takeaway
In conclusion, the yoga wheel can be a transformative tool for alleviating back pain when used mindfully. By incorporating gentle stretches and supportive poses, the wheel helps to release tension, improve flexibility, and enhance spinal alignment. Start slowly, allowing your body to adjust to the wheel’s curves and contours, and focus on areas of tightness or discomfort. Integrate supportive poses such as gentle backbends and stretches to gradually deepen your practice. Always listen to your body and avoid pushing into pain; instead, find a comfortable, restorative position that encourages relaxation. Consistency is key, so consider adding the yoga wheel to your routine a few times a week. Remember to complement your practice with proper hydration, a balanced diet, and other self-care methods. With patience and persistence, the yoga wheel can not only provide relief from back pain but also promote overall well-being and mindfulness in your daily life.